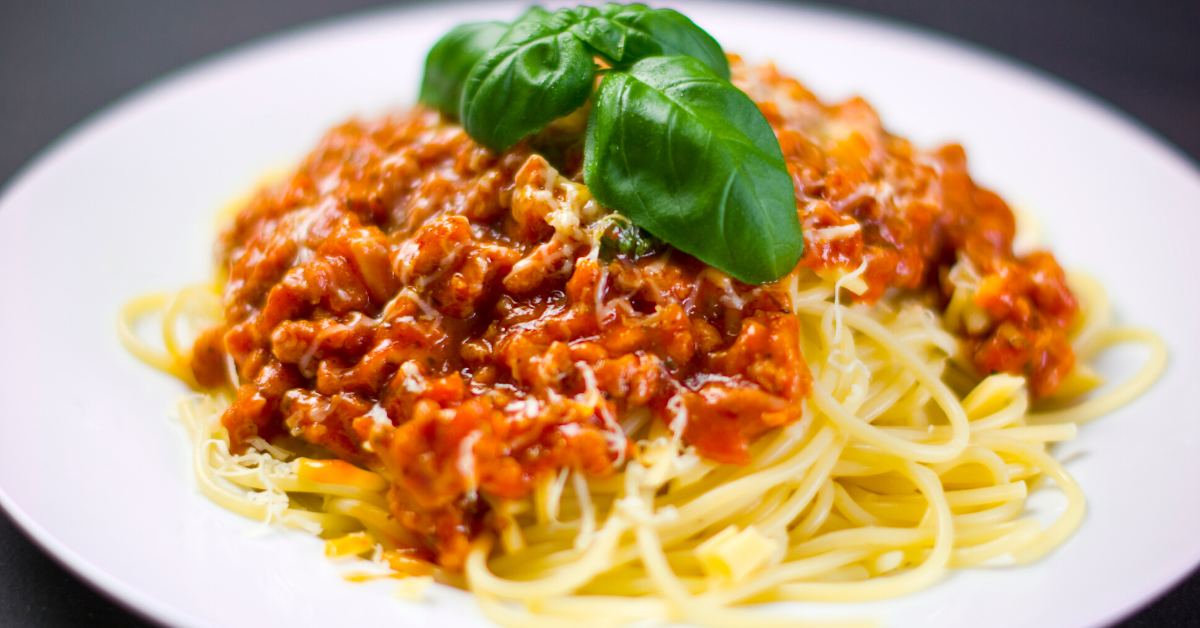
How to Take Great Food Photos

Appetizing photos of your lunches are extremely important and play a major role in ordering decisions of parents. Read through the tips below to help you create the best images of your lunches.
Plating
This first step happens before you even get your camera or phone in your hand. Chefs are often obsessed with plating for good reason - a poorly plated meal will look messy and unappetizing, even though the ingredients and flavours are top quality. So you need to give thought to how to arrange your lunch on the plate.
Separate out components
Are you making mac and cheese with veggies? Instead of mixing everything together, try keeping the veggies to the side. Not only does this clearly demonstrate what is included, it enhances the desirability of each ingredient as well.
Plan your setting
Plates, cutlery, tabletop surfaces - all of these play a big part in your photo, so be sure to take them into consideration. Is your food colourful? Consider using a clean white plate to really make it pop. Sandwich and a salad? Maybe a rustic cutting board sets the right mood. And does that fancy napkin really need to be in the photo or is it just a distraction?
Plan multiple ‘poses’
Consider taking more than one photo of the lunch to show it off in different ways. Start with a ‘natural shot’ of the lunch, on a plate/bowl, potentially with cutlery. This can serve as the primary image for the lunch. And then add a secondary image of the meal in its delivery container, so parents will get a better idea of what it will look like upon delivery.
Lighting
Photos live or die with lighting. You could have a beautiful plating ruined by poor lighting. By the same token, good lighting choices can make up for other types of problems, so make sure you pay attention to how your lunch is lit.
Use natural light
The single best lighting tip for beginners is to use natural light. Take your photos during the day in a well lit area and avoid harsh directional light sources (unless you’re an expert). And whatever you do, do not use the flash on your camera. That typically makes your lunch photo look like a mug shot.
Try different locations
Take photos in a few different places so you can identify the location with the most attractive lighting. To avoid having your subject appear too dark, ensure that the main light source is behind you.
Composition
Now that you’re happy with the lighting, it’s time to plan your shot. There are a few key things to keep in mind when composing your photo.
Get rid of clutter
The human brain is good at filtering through the noise of the real world to focus on what’s important. But all of those extra distractions will detract from your photo. Make sure that everything in your photo really needs to be there. Get rid of the clutter.
Try different angles
People tend to take food photos above and in front because this is how we typically first see the food. But this angle is likely not going to give you the best shot. Some foods, like salads, pizza, and fruit plates, look best when photographed from directly above to highlight the various components. A sandwich, on the other hand, might look best cut in half and photographed from the side. Take many shots and choose the angle that highlights the food in the most complimentary way.
Get the whole shot
After you take your photos, you can always crop it to make your subject more prominent, but if parts of the subject are cropped out at the time of the photo, you can’t get them back. So take care to get the whole subject in the frame at the time of the photo.
Cropping
While there are many ways to edit your photos after you take them, the one that will often make the biggest difference is cropping. When you crop your photo, you can remove extra unnecessary details in the background, make the subject more prominent, and compose it the way you want in the frame. While the ‘rule of thirds’ is a great photographic technique for more artistic photos, it may be better to simply focus on centering your subject. But don’t crop too much. Be sure to leave enough space around the subject to allow the photo to ‘breath’. If you don’t, it can feel too crowded.
Other Considerations
Get rid of the blur
If your shots are coming out blurry, it may be due to insufficient light. If you’ve turned off your flash (which you should!), your camera’s shutter needs to stay open longer to let enough light in. If it’s too dark, it needs to stay open longer than you’re able to hold the camera still. So either use a tripod or other support, or add more light.
Practice, Practice and More Practice
The best way to improve your food photos is to practice. Experiment. Try out different angles, locations, light sources, settings, and compositions. Before long your photos will start to pop and your lunches will start to sell!